Introduction
Avent is the most popular reporter format and supports both BDD and non-BDD test styles.
Views
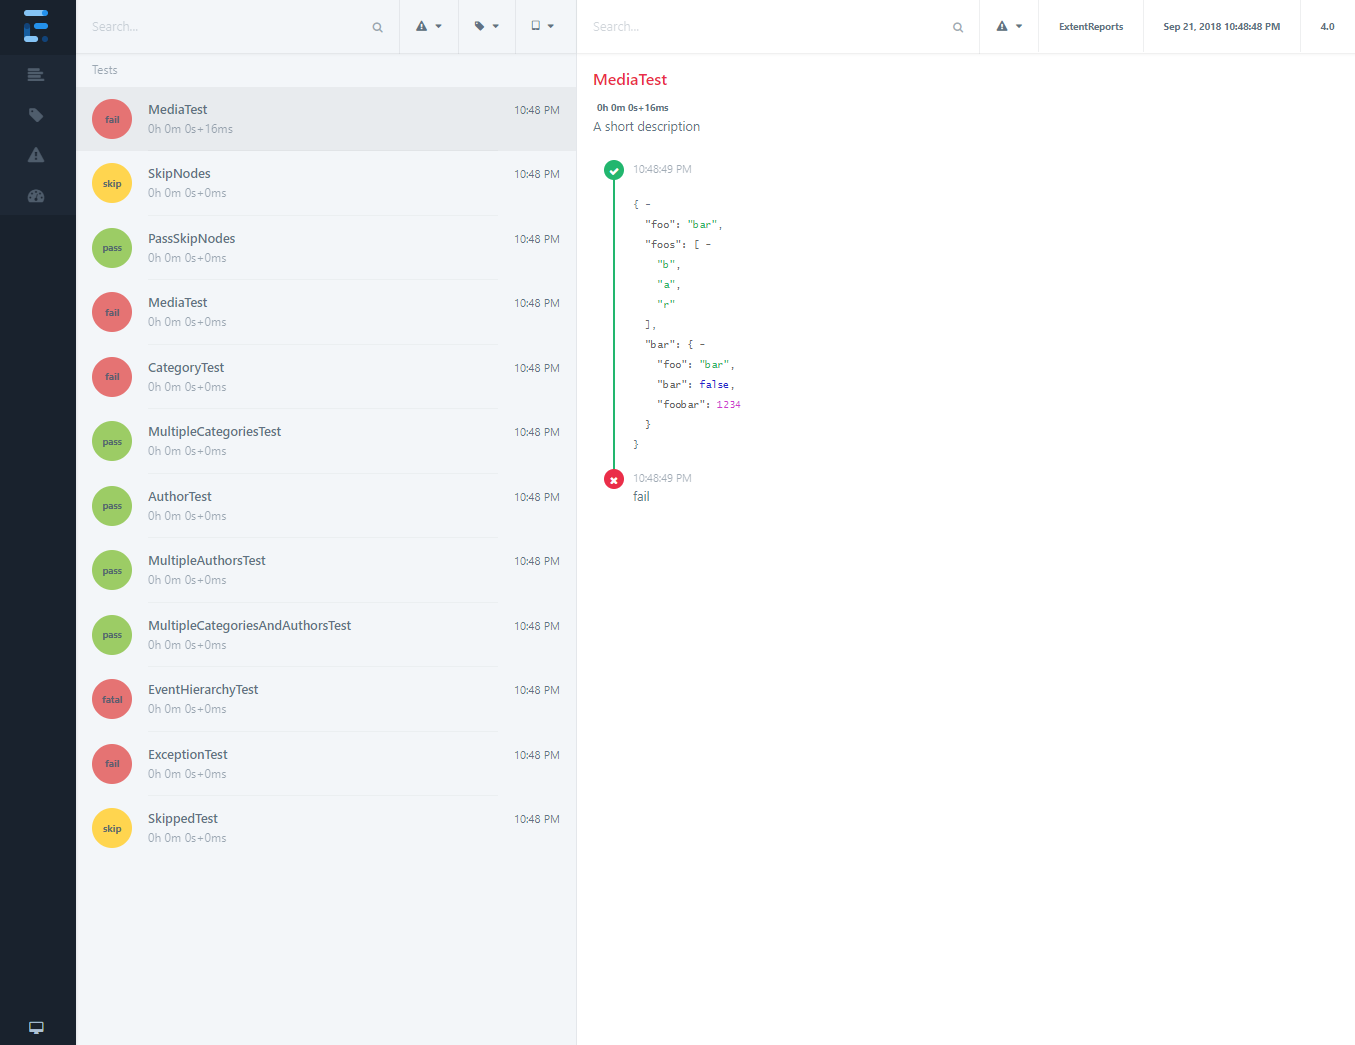
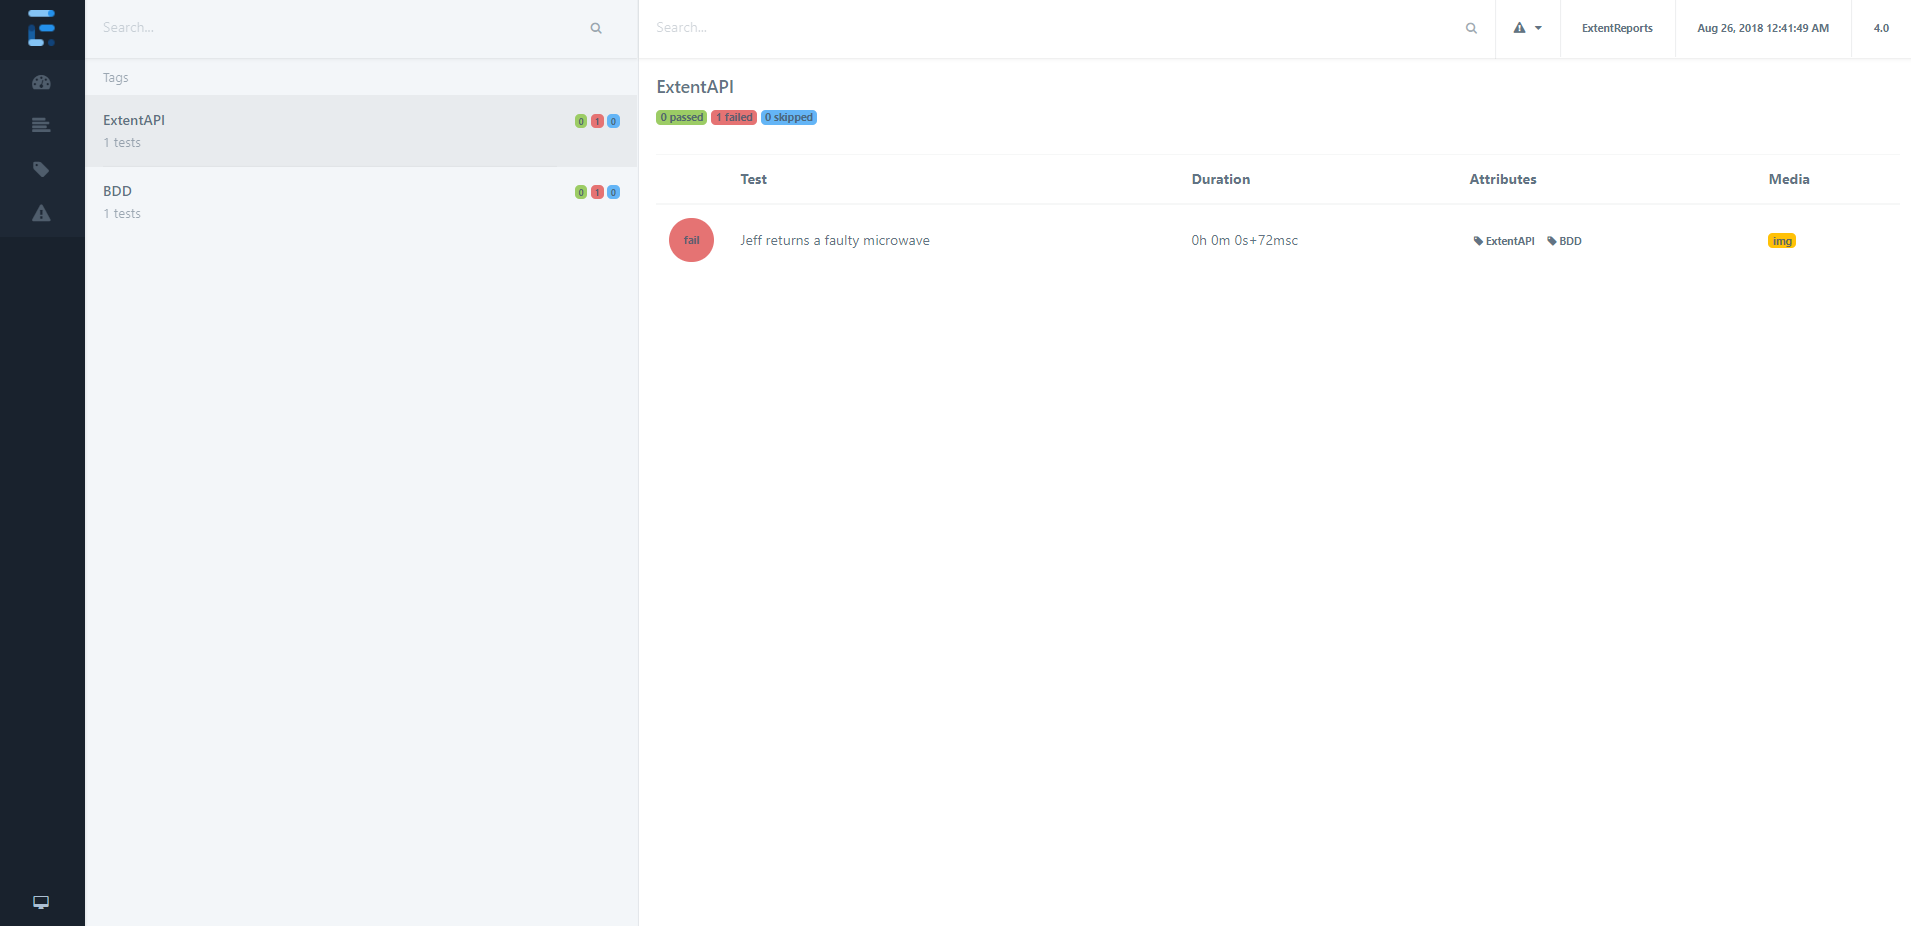
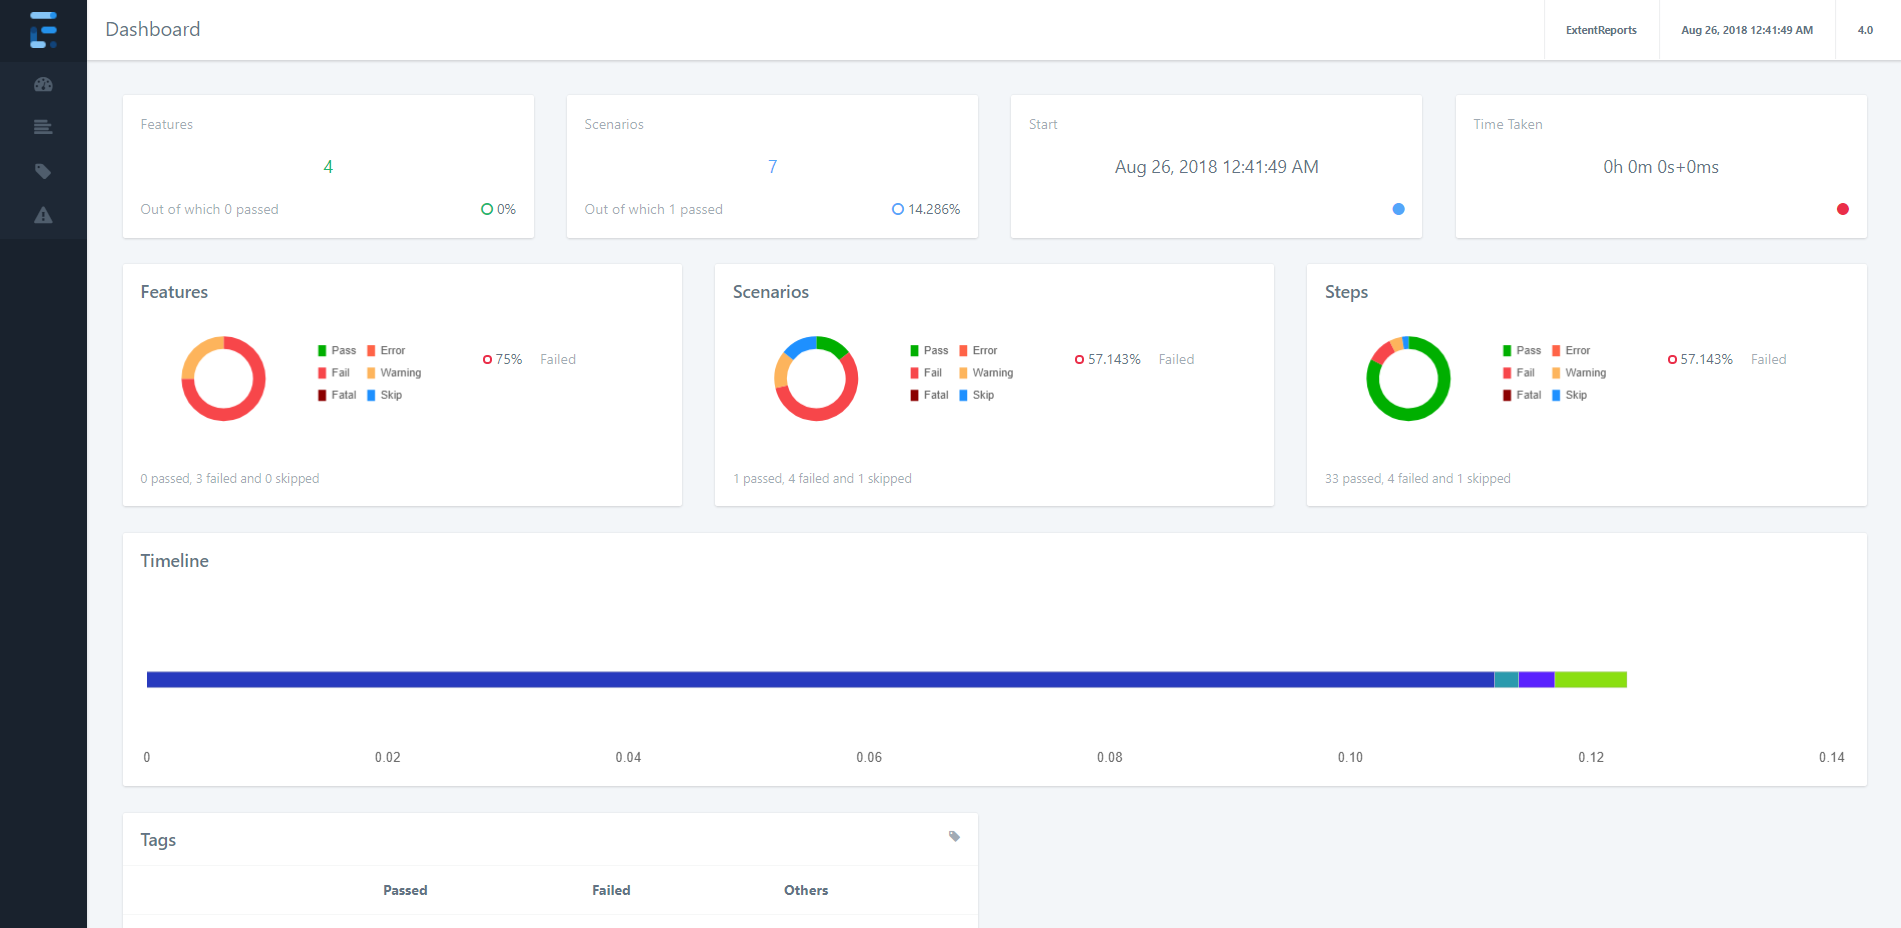
Avent generates the following views:
- Test
- Tag
- Bug
- Dashboard


Usage
Initialize
Start and attach Avent using attachReporter:
// directory where output is to be printed
var avent = new ExtentAventReporter("user/build/name/");
var extent = new ExtentReports();
extent.attachReporter(avent);
Shortcuts
A few shortcuts are available to speed up common tasks.
Filters
p - show passed tests
e - show error tests
f - show failed tests
s - show skipped tests
w - show warning tests
esc - clear filters
Scroll
down-arrow - scroll down
up-arrow - scroll up
Misc
l - switch theme
Automatic Screenshot Management
To automatically create relative paths from the report, use configuration:
avent.Config.AutoCreateRelativePathMedia = true;
This configuration will copy the media-file to a directory relative to the file without you having to manually provide path that works relative to the report.
// initialize
var avent = new ExtentAventReporter("user/build/name/");
avent.Config.AutoCreateRelativePathMedia = true;

// provide the path of the image and it will be automatically referenced
// in the markup relative to the report
test1.Fail("details", MediaEntityBuilder.CreateScreenCaptureFromPath("1.png").Build());
test2.Fail("details", MediaEntityBuilder.CreateScreenCaptureFromPath("2.png").Build());
The above 2 screenshots will automatically be saved as and added to the report. This will allow you to move the screenshots along with the report without any side-affects, such breaking the report or failure to load screenshots on load.
.
+-- index.html
+-- exception.html
+-- tag.html
+-- test.html
+-- extent-media.0
|   +-- 1.png
|   +-- 2.png
+-- extent-media.1
|   +-- 1.png
|   +-- 2.png
When the build executes in the same location the first time, extent-media.0 will be created. If the report is created in the same location extent-media.1 will be created next. These directories will not be removed by Extent automatically.
Configuration
Avent supports a host of configuration via XML and Csharp.
XML
To load configuration via XML, use LoadConfig().
// using the file path
avent.LoadConfig("avent-config.xml");
The below XML configuration is available to Avent.
<?xml version="1.0" encoding="UTF-8"?>
<extentreports>
    <configuration>
        <!-- report theme -->
        <!-- standard, dark -->
        <theme>standard</theme>

        <!-- viewstyle -->
        <!-- alt-view -->
        <viewstyle></viewstyle>

        <!-- document encoding -->
        <!-- defaults to UTF-8 -->
        <encoding>UTF-8</encoding>

        <!-- offline report -->
        <enableOfflineMode>false</enableOfflineMode>

        <!-- enable or disable timeline on dashboard -->
        <enableTimeline>true</enableTimeline>

        <!-- title of the document -->
        <documentTitle>Extent Framework</documentTitle>

        <!-- report name - displayed at top-nav -->
        <reportName>Build 1</reportName>

		<!-- timestamp format -->
		<timeStampFormat>MMM dd, yyyy HH:mm:ss</timeStampFormat>

        <!-- custom javascript -->
        <scripts>
            <![CDATA[
                $(document).ready(function() {

                });
            ]]>
        </scripts>

        <!-- custom styles -->
        <styles>
            <![CDATA[

            ]]>
        </styles>
    </configuration>
</extentreports>
C#
It is also possible to configure the reporter directly from code:
avent.Config.EnableTimeline = true;
avent.Config.EnableOfflineMode = true;
avent.Config.AutoCreateRelativePathMedia = true;
avent.Config.CSS = "";
avent.Config.DocumentTitle = ""
avent.Config.Encoding = "utf-8";
avent.Config.JS = "";
avent.Config.ReportName = "";
avent.Config.Theme = Theme.Dark;